Workflows
A workflow is a series of steps to build, test, release, or deploy your application. This page explains workflows, how they are triggered, and their settings.
If this is your first time using Semaphore, check out Guided Tour.
Overview
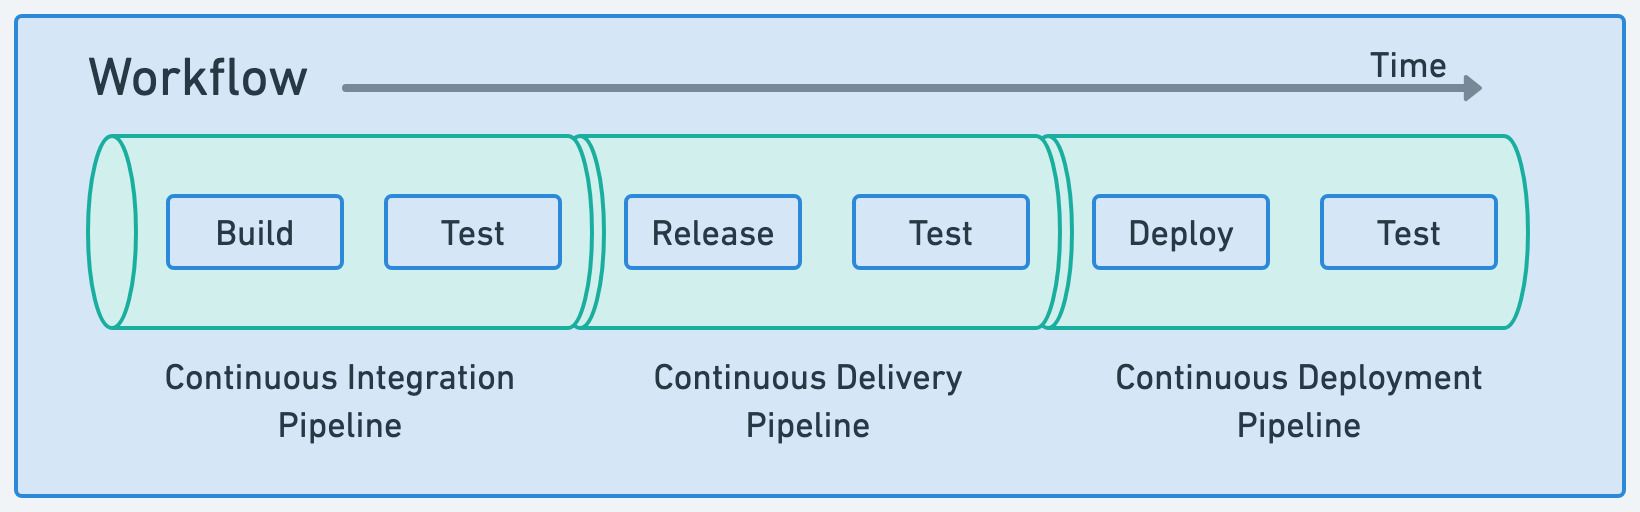
In the context of Continuous Integration and Delivery (CI/CD) a workflow implements automation to manage the development cycle from code to deployment.
Workflows in Semaphore consist of one or more pipelines. A pipeline defines the sequence of tasks to achieve goals like build, release, or deploy to production.
Before you can run a workflow in Semaphore you need:
- A Semaphore account
- A repository on GitHub or BitBucket
- A Semaphore project linked to the repository
- One or more pipelines
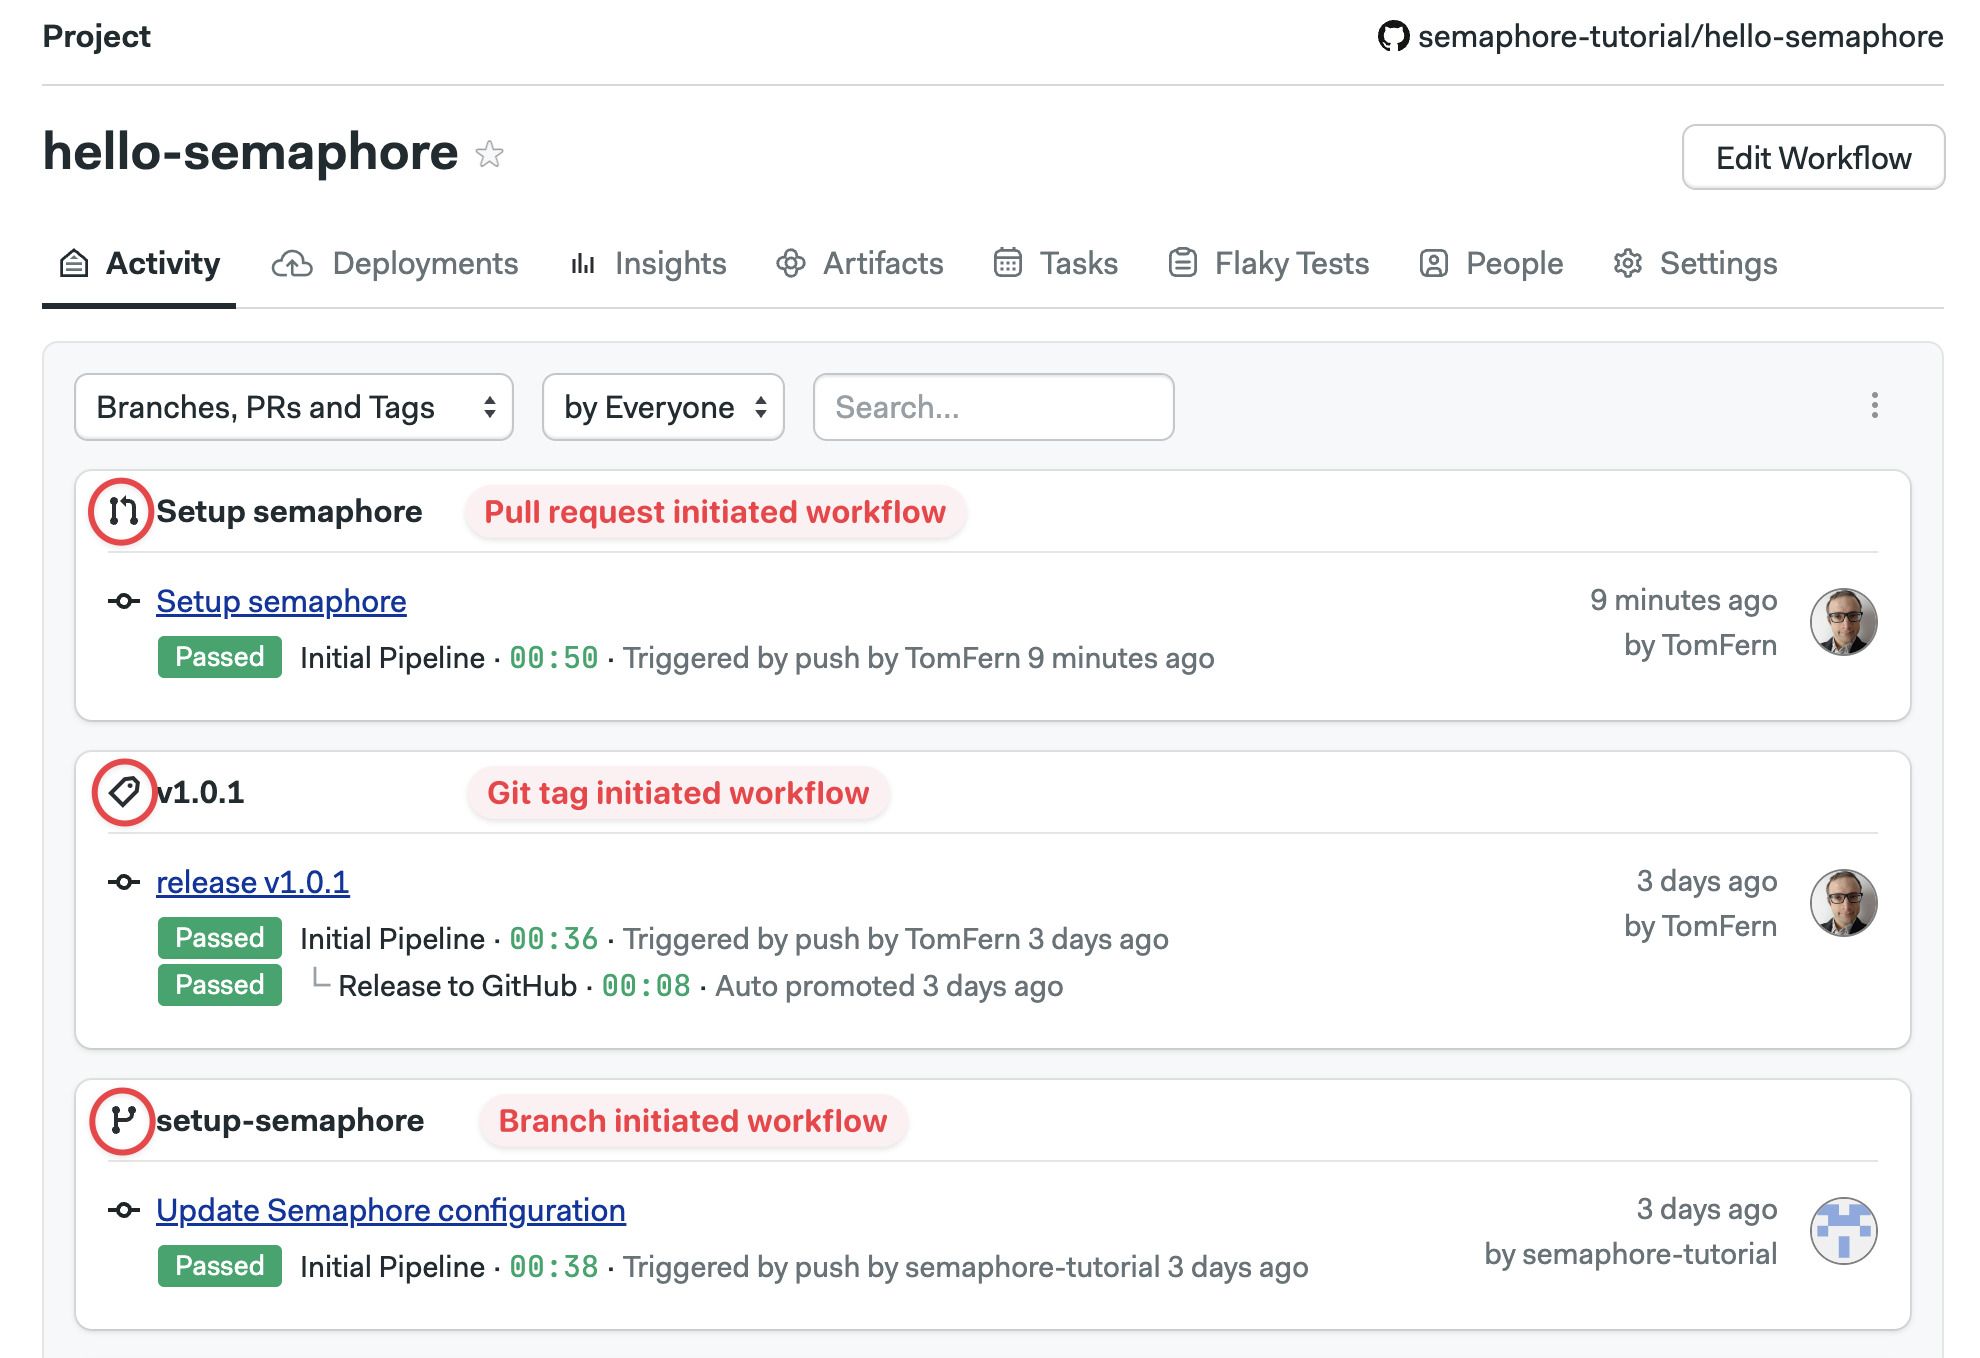
The project page shows all the recent workflows for the project.
Visual workflow editor
Video Tutorial: How to use the workflow builder
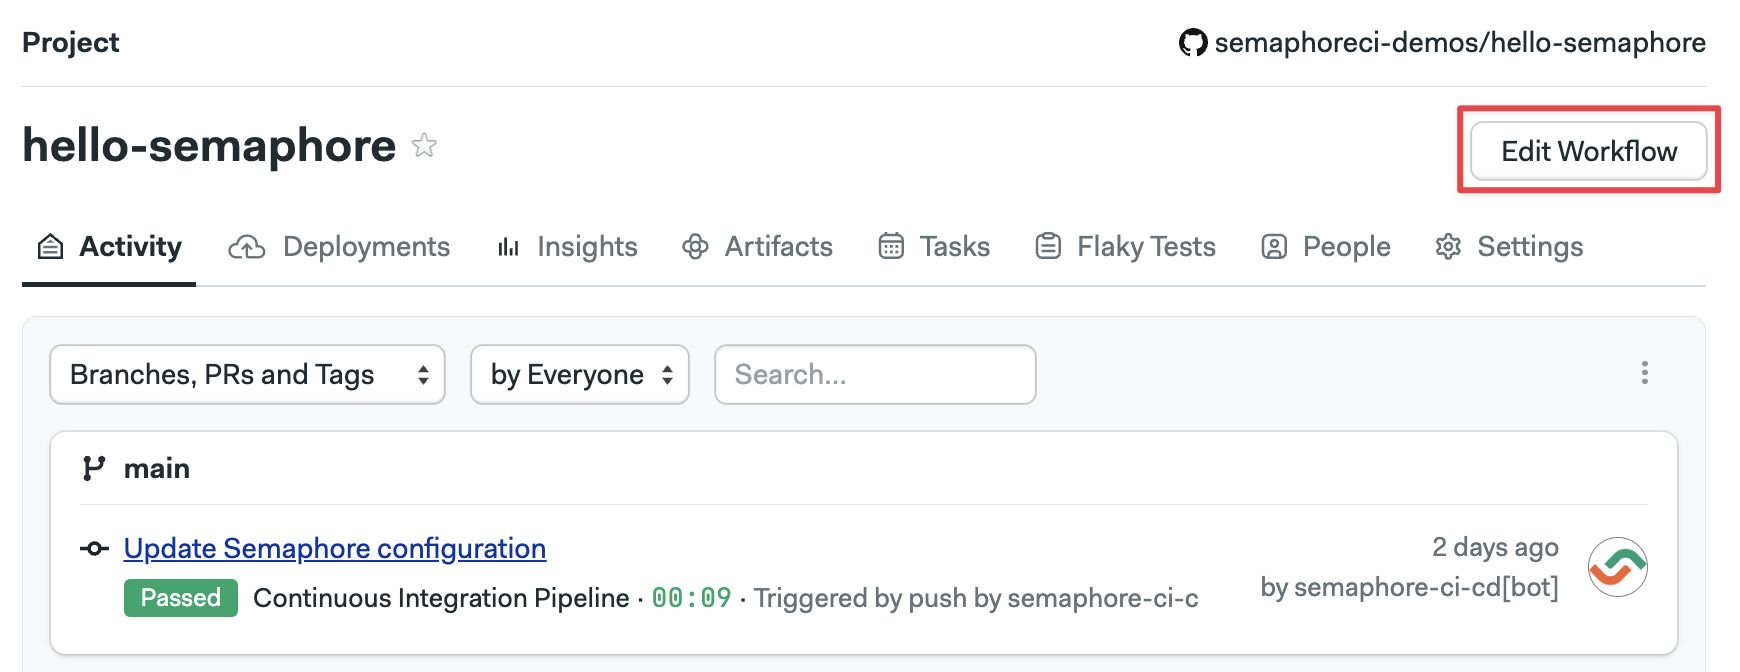
You can define most aspects of your workflows using the visual editor.
To access the editor, open one of your projects on and press Edit Workflow. All your changes are stored as YAML pipeline definitions on your Git repository. You can make changes using the visual editor, or edit the YAML directly by clicking on the pipeline YAML file.
See the jobs page to learn how to define jobs and blocks.
Workflow triggers
The following events or actions trigger workflows by default:
- Pushing commits into any branch
- Pushing Git tags
- Changing any pipelines
- Manually re-running workflows
- Running pipelines using Tasks
Additionally, you can configure workflows to be triggered by:
- Pull requests (not available on BitBucket projects)
- Pull request on forked repositories
The reason for the trigger can be determined at runtime by examining the Semaphore environment variables in the job. See the environment variable reference page for more details.
How pull requests are handled
Semaphore starts a workflow for every push to a pull request originating from a forked repository. For security reasons, secrets are disabled in jobs triggered in this way. You can create an allow list with the secrets you want to expose in the project settings.
Instead of pushing the HEAD commit to the pull request, Semaphore uses the MERGE commit between the source and the upstream branch. You can find the SHA of the HEAD commit of the Pull Request in the SEMAPHORE_GIT_PR_SHA environment variable.
How to customize triggers
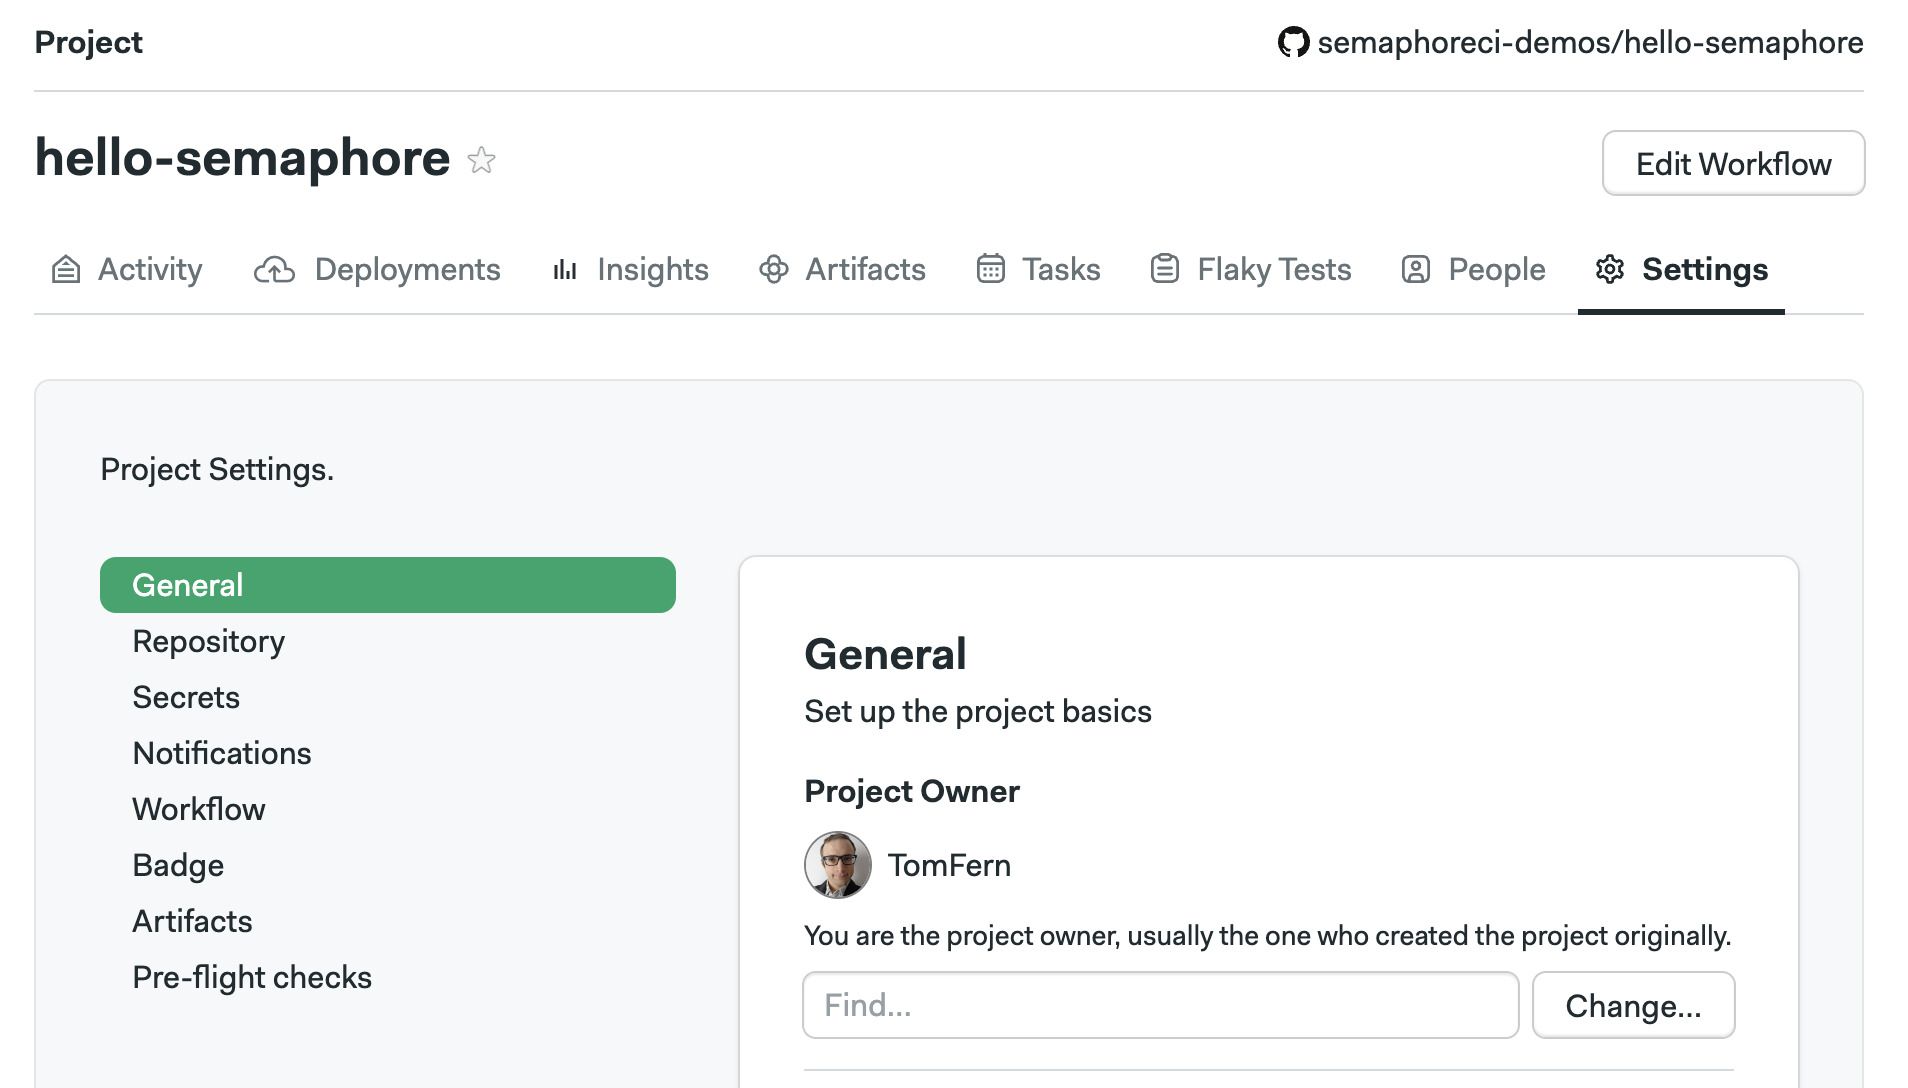
Triggers are configured in the project settings. To change what actions can trigger a workflow, follow these steps:
-
Open your project on Semaphore
-
Go to the Settings tab
-
In the General section scroll down to What to build
-
Change the settings and press Save
Selecting Do not run on any events disables all triggers, effectively pausing the project. You can, however, still run workflows manually or with tasks.

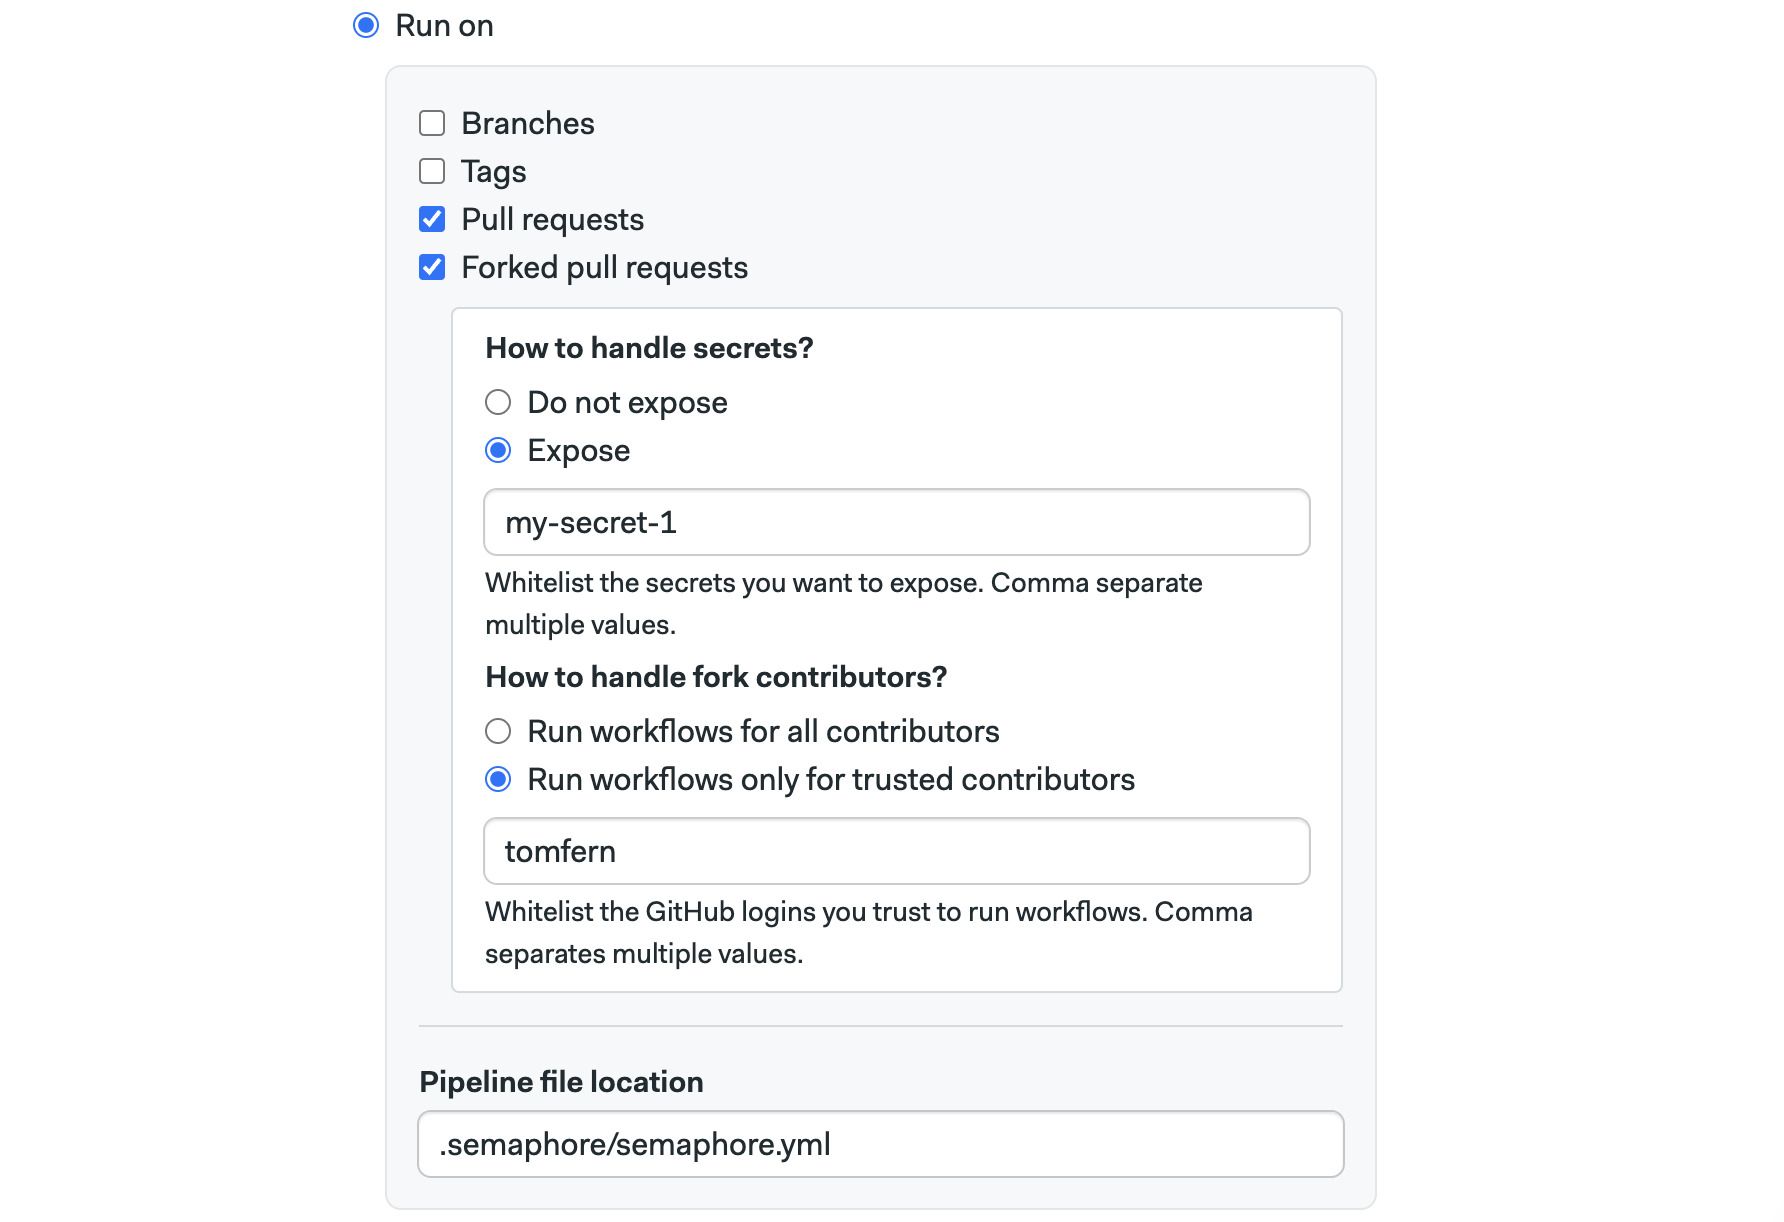
Selecting Run on allows you to configure what triggers are enabled for the project.
-
The Branches option allows you to run workflows on all branches or configure an allow list with branch names. Regular expressions are supported
-
The Tags options work the same but for Git tags
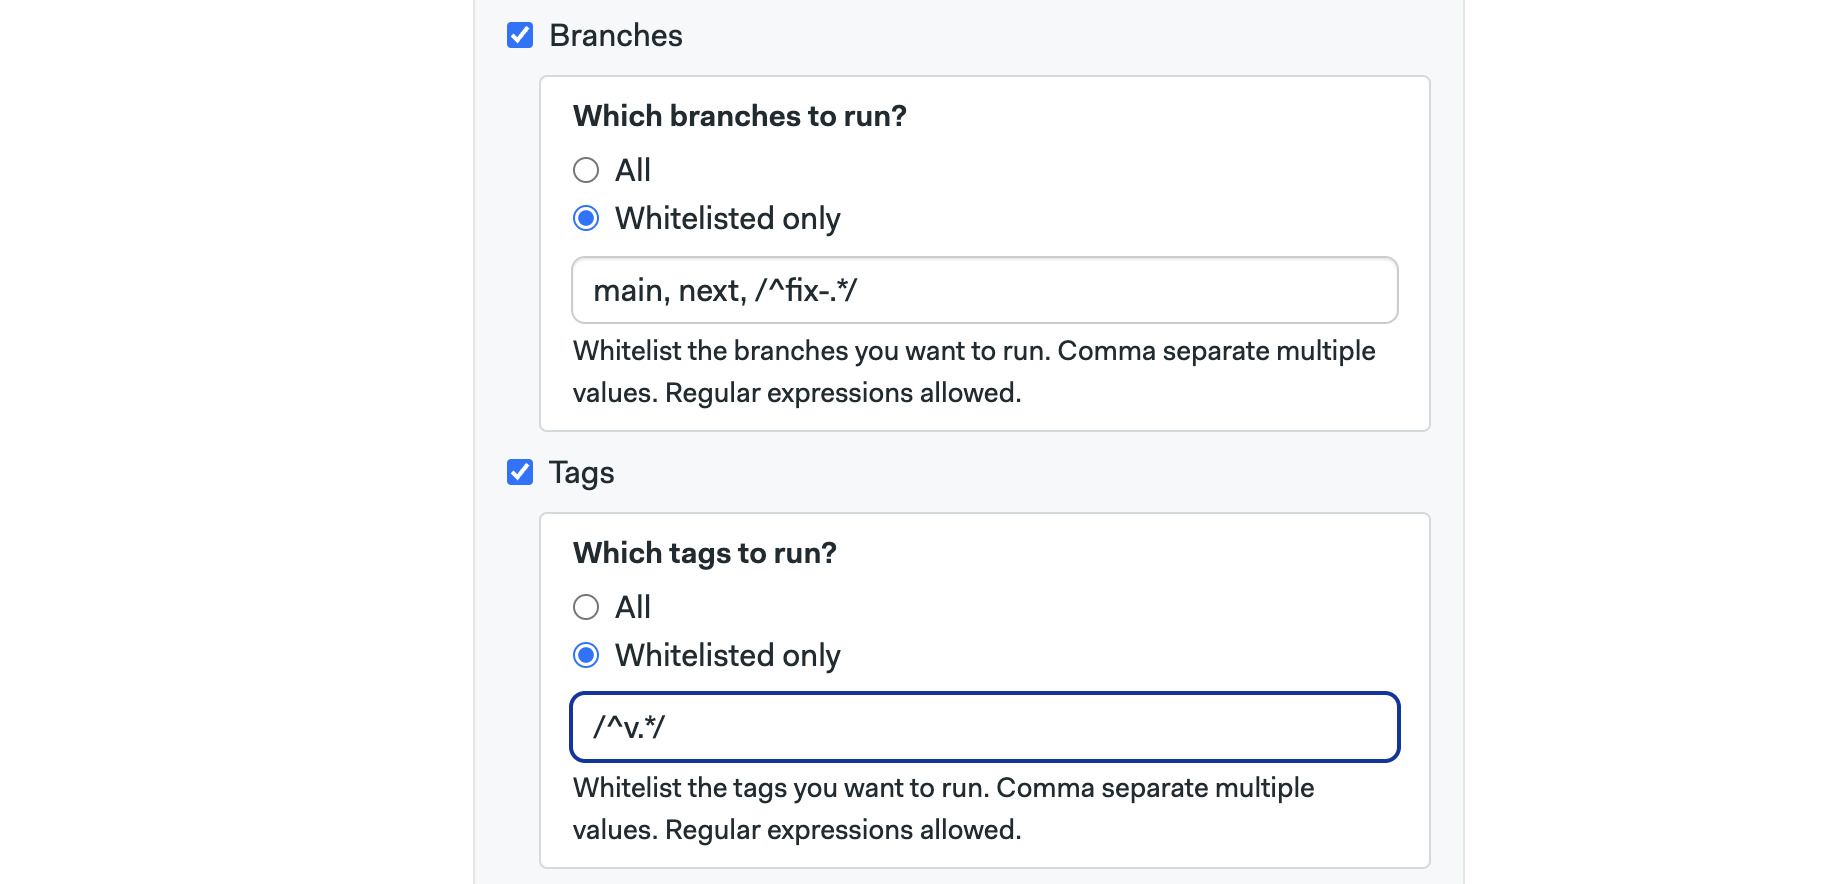
Whitelisted only only affects branches and tags created after enabling this setting. Branches and tags that existed before the setting is enabled are not affected and are always built.
- Enabling Pull requests option allows Semaphore to run workflows on pull requests originating in the same repository
- The Forked pull request works the same for pull requests originating from forked pull requests. To prevent security leaks, you can configure a list of allowed secrets and GitHub/BitBucket/GitLab usernames that can trigger workflows in this way
Approving PRs with /sem-approve
Blocked pull requests can be manually approved by adding a comment containing /sem-approve string in the PR conversation. Anyone who can run a forked pull request can also approve one.
Approving forked pull requests is limited to new comments only and does not work with comment edits. Due to security concerns, /sem-approve will work only once. Subsequent pushes to the forked pull request must be approved again.
How to skip commits
If you don't want to start a workflow, type one of the following strings in the commit message.
[ci skip][skip ci]
For example, this push does not trigger a Semaphore pipeline execution, it is completely ignored:
git add -A
git commit -m "[skip ci] Initial commit"
git push origin main
- Skip doesn't work when pushing tags
- Be careful when squashing commits as they can contain skip messages