Google Cloud Compute (VM)
This page explains how to install Semaphore Community Edition on a Google Cloud Compute Engine (VMs).
Overview
If this is your first time using Semaphore we suggest trying out Semaphore Cloud to see if the platform fits your needs. You can create a free trial account without a credit card and use every feature.
The self-hosted installation is recommended for users and teams familiar with Semaphore.
Prerequisites
- A DNS domain
- A Google Cloud account
Step 1 - Install dependencies
Install the following tools:
- Google Cloud SDK: command line tools to create and manage your Google Cloud services
Step 2 - Create SSH keypair
You may skip this step if you already have an SSH key pair.
To generate your SSH keys, run the following command. Follow the on-screen instructions.
ssh-keygen -t rsa
The generated keys should be located in the $HOME/.ssh folder. The exact names can change if you're using a different cipher to create the keys. For example:
id_rsa: this is the private key, do not share it with anyoneid_rsa.pub: this is your public key, it can be installed on your servers to get SSH access.
Step 3 - Set up Google project
We recommend creating a separate Google Cloud Project for your Semaphore installation. Once you have created your project, take note of the Google Project ID.
Create a config file to store your Google Cloud parameters. We'll call it google-config. Adjust the values to match your Project ID and which zone the compute instance should run on. Ensure you the paths for the SSH keypairs generated earlier are correct (warning: never switch the public with the private keys).
export GOOGLE_CLOUD_PROJECT_ID="<your-project-id>"
export GOOGLE_INSTANCE_NAME="<name-for-the-machine>"
export GOOGLE_CLOUD_ZONE="<google-cloud-zone-datacenter>"
export SSH_KEY_PUBLIC="<path-to-your-public-ssh-key>"
export SSH_KEY_PRIVATE="<path-to-your-private-ssh-key>"
Once you have modified the configuration file, you should have something like the following example:
export GOOGLE_CLOUD_PROJECT_ID="my-semaphore-323342"
export GOOGLE_INSTANCE_NAME="semaphore-control-machine"
export GOOGLE_CLOUD_ZONE="us-central1-a"
export SSH_KEY_PUBLIC="$HOME/.ssh/id_rsa.pub"
export SSH_KEY_PRIVATE="$HOME/.ssh/id_rsa"
Authenticate with your Google Cloud account before continuing. The command opens a browser to log in to your account.
gcloud auth login
Once logged in, activate to your Semaphore project on the terminal with the following commands:
source google-config
gcloud config set project "${GOOGLE_CLOUD_PROJECT_ID}"
Step 4 - Create VM
Run the following command to create your Google Compute instance:
source google-config
gcloud compute instances create ${GOOGLE_INSTANCE_NAME} \
    --zone=${GOOGLE_CLOUD_ZONE} \
    --project=${GOOGLE_CLOUD_PROJECT_ID} \
    --network-interface=network-tier=PREMIUM,stack-type=IPV4_ONLY,subnet=default \
    --scopes=https://www.googleapis.com/auth/devstorage.read_only,https://www.googleapis.com/auth/logging.write,https://www.googleapis.com/auth/monitoring.write,https://www.googleapis.com/auth/service.management.readonly,https://www.googleapis.com/auth/servicecontrol,https://www.googleapis.com/auth/trace.append \
    --tags=http-server,https-server \
    --machine-type=e2-standard-8 \
    --image-family=ubuntu-2404-lts-amd64 \
    --image-project=ubuntu-os-cloud \
    --boot-disk-size=64GB \
    --metadata "ssh-keys=$(whoami):$(cat $SSH_KEY_PUBLIC)"
Step 5 - Get public IP Address
Run the following command to retrieve the assigned IP address for your new server:
export IP_ADDRESS=$(gcloud compute instances describe ${GOOGLE_INSTANCE_NAME} --zone ${GOOGLE_CLOUD_ZONE} --format='text(networkInterfaces.[].accessConfigs.[].natIP)' | awk -F': ' '{print $2}')
Take note of the public IP address of your instance and save it on the configuration file:
echo export IP_ADDRESS=${IP_ADDRESS} >> google-config
echo $IP_ADDRESS
Step 6 - Update DNS records
Configure your DNS by creating two A records that point to the reserved IP:
-
Go to your domain provider's DNS settings
-
Create root domain A record
- Type: A
- Name:
semaphore(e.g.semaphore.example.com) - Value: the public IP address of your Linux machine
-
Create a wildcard record
- Type: A
- Name:
*.semaphore(e.g.*.semaphore.example.com) - Value: the public IP address of your Linux machine
-
Wait for DNS propagation (typically a few minutes)
You can verify the creation of the TXT record in the Online Dig Tool for:
semaphore.example.com*.semaphore.example.com
Step 7 - Check firewall rules
Ensure the Google Cloud firewall is configured to allow inbound connections to your servers on ports 80 (HTTP) and 443 (HTTPS).
You can see the firewall rules in the Google Cloud Console or by running the following command:
$  gcloud compute firewall-rules list

NAME                                            NETWORK  DIRECTION  PRIORITY  ALLOW                         DENY       DISABLED
default-allow-http                              default  INGRESS    1000      tcp:80                                   False
default-allow-https                             default  INGRESS    1000      tcp:443                                  False
default-allow-icmp                              default  INGRESS    65534     icmp                                     False
default-allow-internal                          default  INGRESS    65534     tcp:0-65535,udp:0-65535,icmp             False
default-allow-rdp                               default  INGRESS    65534     tcp:3389                                 False
default-allow-ssh                               default  INGRESS    65534     tcp:22                                   False
If needed, you can open the ports with the following commands:
gcloud compute firewall-rules create default-allow-http \
  --allow=tcp:80 \
  --direction=INGRESS \
  --source-ranges=0.0.0.0/0 \
  --target-tags=http-server

gcloud compute firewall-rules create default-allow-https \
  --allow=tcp:443 \
  --direction=INGRESS \
  --source-ranges=0.0.0.0/0 \
  --target-tags=https-server
Step 8 - Log into the instance
First, connect to the server using SSH. This should open a terminal on the Google Cloud VM:
gcloud compute ssh --zone=${GOOGLE_CLOUD_ZONE} --project=${GOOGLE_CLOUD_PROJECT_ID} --ssh-key-file ~/.ssh/id_ed25519 ${GOOGLE_INSTANCE_NAME}
Create a folder to store the configuration and certificates:
mkdir semaphore-install
cd semaphore-install
Create a file with the following environment variables. For the rest of the guide, we'll call this file semaphore-config. Change the values as needed:
export DOMAIN="<your-domain>"
export IP_ADDRESS=<public-IP-address-of-machine>
We highly recommend installing Semaphore on a subdomain, e.g. semaphore.example.com. Installing Semaphore on your main domain is discouraged as its operation might interfere with other services running on the same domain.
For example, if your domain is example.com, consider installing Semaphore on semaphore.example.com. See the example below.
export DOMAIN="semaphore.example.com"
export IP_ADDRESS=1.2.3.4
Step 9 - Create TLS certificates
You may skip this section if you already have wildcard certificates, e.g. *.semaphore.example.com for the domain where you are installing Semaphore.
We can use certbot to create a free wildcard TLS certificate. Install certbot with the following command:
sudo apt-get update
sudo apt-get -y install certbot
Next, create the certificates with the following command:
source semaphore-config
mkdir -p certs
certbot certonly --manual --preferred-challenges=dns \
    -d "*.${DOMAIN}" \
    --register-unsafely-without-email \
    --work-dir certs \
    --config-dir certs \
    --logs-dir certs
When you are prompted to create a DNS TXT record to verify domain ownership. For example:
Please deploy a DNS TXT record under the name:

_acme-challenge.semaphore.example.com.

with the following value:

EL545Zty7vUUvIHQRSkwxXTWsirldw91enasgB5uOHs
Create the DNS TXT record before continuing the certificate generation. Follow the instructions on the terminal.
You can verify the creation of the TXT record in the Google Dig Tool. Type the challenge DNS TXT record and check if its value corresponds to the correct value.
Once done, you should get a message like this:
Successfully received certificate.
Certificate is saved at: certs/live/semaphore.example.com/fullchain.pem
Key is saved at:         certs/live/semaphore.example.com/privkey.pem
This certificate expires on 2025-02-27.
These files will be updated when the certificate renews.
Check the existence of the certificate files on the following paths. You will require both files during the Semaphore installation.
- Full chain certificate:
./certs/live/$DOMAIN/fullchain.pem - Private key certificate:
./certs/live/$DOMAIN/privkey.pem
You may delete the TXT record from your domain at this point. It's no longer needed.
Step 10 - Install k3s and Helm
Still inside the remote shell in your Google compute instance, install Helm with:
curl -fsSL -o get_helm.sh https://raw.githubusercontent.com/helm/helm/main/scripts/get-helm-3 && chmod 700 get_helm.sh && ./get_helm.sh
Next, install k3s:
curl -sfL https://get.k3s.io | K3S_KUBECONFIG_MODE="644" sh -
export KUBECONFIG=/etc/rancher/k3s/k3s.yaml
Step 11 - Install Semaphore
We recommend running the following sanity checks to confirm you're ready for installation. The commands should not fail and return valid values.
source semaphore-config
echo "DOMAIN=${DOMAIN}"
echo "IP_ADDRESS=${IP_ADDRESS}"
ls certs/live/${DOMAIN}/fullchain.pem certs/live/${DOMAIN}/privkey.pem
Before installing Semaphore, we need the Emissary Ingress Controller to manage the ingress resources. Install it with:
export KUBECONFIG=/etc/rancher/k3s/k3s.yaml
kubectl apply -f https://app.getambassador.io/yaml/emissary/3.9.1/emissary-crds.yaml
kubectl wait --timeout=90s --for=condition=available deployment emissary-apiext -n emissary-system
Finally, install Semaphore with Helm:
helm upgrade --install semaphore oci://ghcr.io/semaphoreio/semaphore \
  --debug \
  --version v1.3.0 \
  --timeout 20m \
  --set global.domain.ip=${IP_ADDRESS} \
  --set global.domain.name=${DOMAIN} \
  --set ingress.enabled=true \
  --set ingress.ssl.enabled=true \
  --set ingress.className=traefik \
  --set ingress.ssl.type=custom \
  --set ingress.ssl.crt=$(cat certs/live/${DOMAIN}/fullchain.pem | base64 -w 0) \
  --set ingress.ssl.key=$(cat certs/live/${DOMAIN}/privkey.pem | base64 -w 0)
Once the installation is done, the following command should appear in the terminal:
=============================================================================================
Congratulations, Semaphore has been installed successfully!

To start using the app, go to https://id.semaphore.example.com/login

You can fetch credentials for the login by running this command:

echo "Email: $(kubectl get secret semaphore-authentication -n default -o jsonpath='{.data.ROOT_USER_EMAIL}' | base64 -d)"; echo "Password: $(kubectl get secret semaphore-authentication -n default -o jsonpath='{.data.ROOT_USER_PASSWORD}' | base64 -d)"; echo "API Token: $(kubectl get secret semaphore-authentication -n default -o jsonpath='{.data.ROOT_USER_TOKEN}' | base64 -d)"

=============================================================================================
Execute the shown command to retrieve the login credentials.
$ echo "Email: $(kubectl get secret semaphore-authentication -n default -o jsonpath='{.data.ROOT_USER_EMAIL}' | base64 -d)"; echo "Password: $(kubectl get secret semaphore-authentication -n default -o jsonpath='{.data.ROOT_USER_PASSWORD}' | base64 -d)"; echo "API Token: $(kubectl get secret semaphore-authentication -n default -o jsonpath='{.data.ROOT_USER_TOKEN}' | base64 -d)"

Email: root@example.com
Password: AhGg_2v6uHuy7hqvNmeLw0O4RqI=
API Token: nQjnaPKQvW6TqXtpTNSx
Step 12 - First login
On new installations, the system may take up to a few minutes to finish all setup tasks. If you cannot log in right away, wait a few minutes and try again.
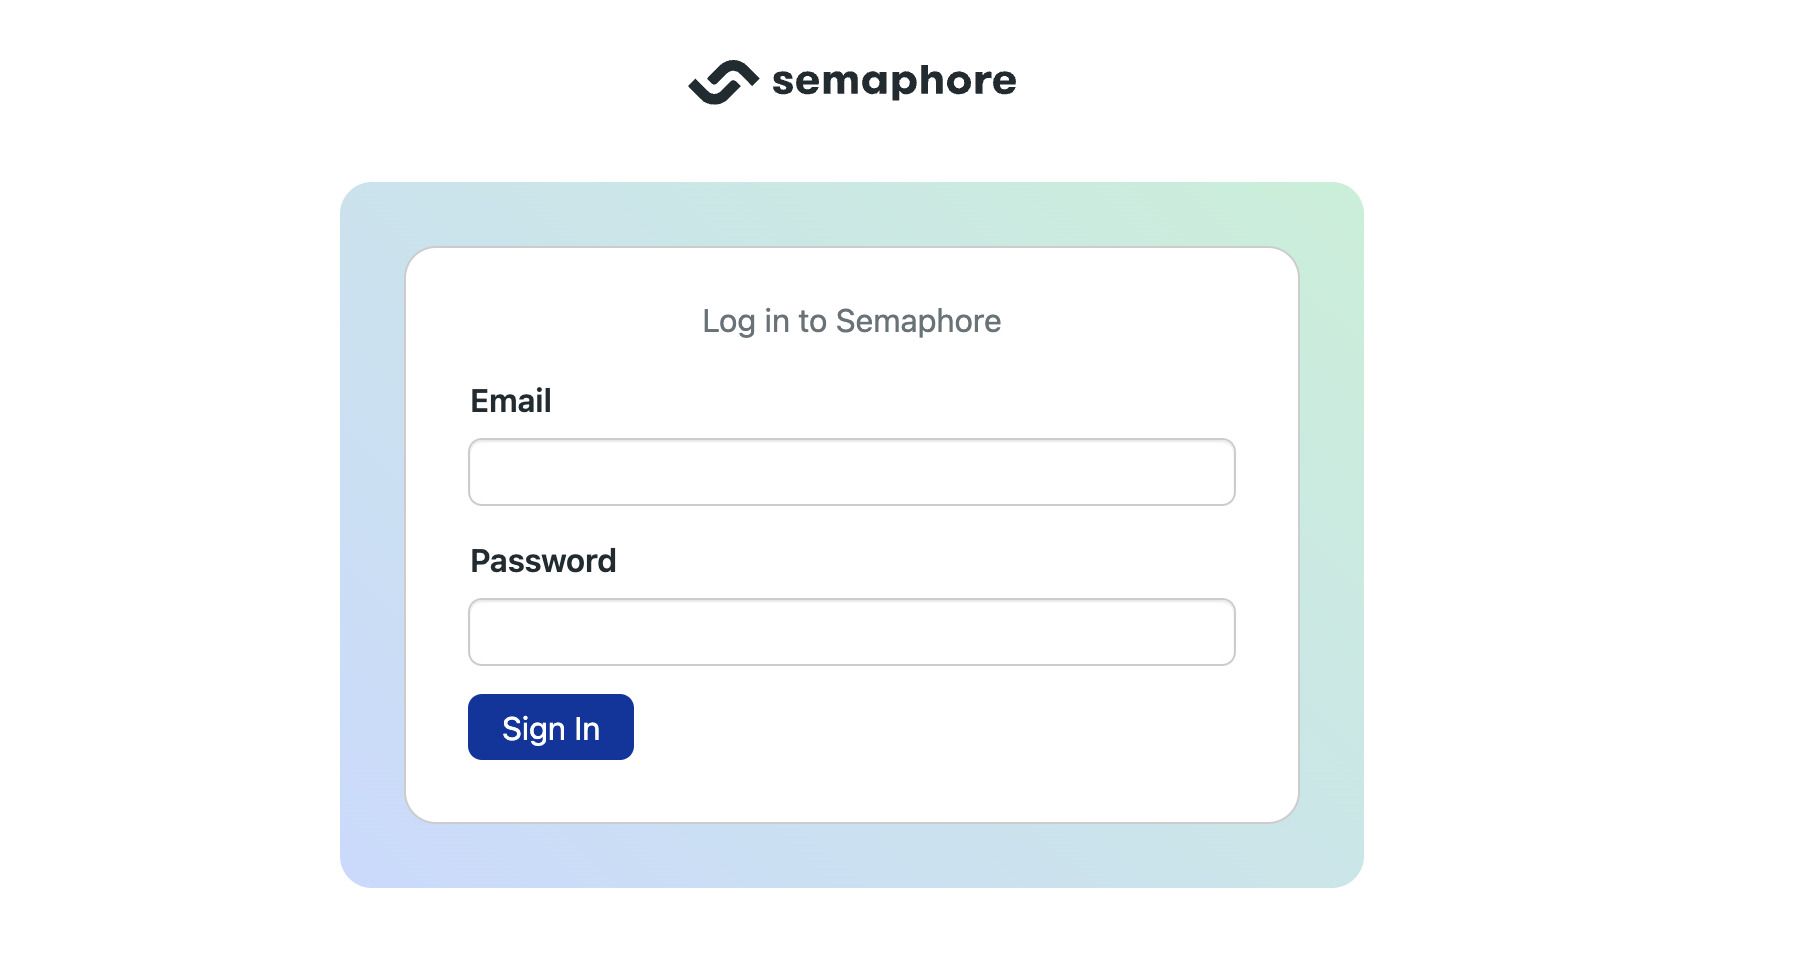
Open a browser and navigate to the domain to id.<your-domain>/login. For example: id.semaphore.example.com/login
Fill in the username and password obtained at the end of step 11.
Once logged in, select the Semaphore organization to continue.
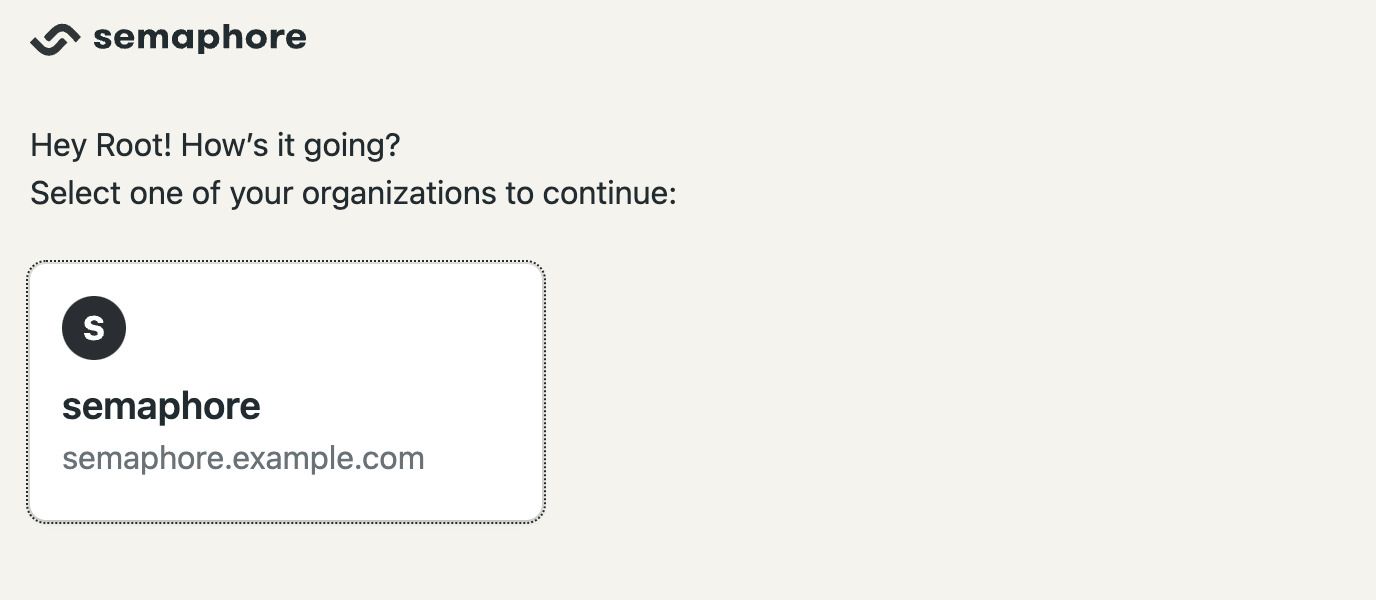
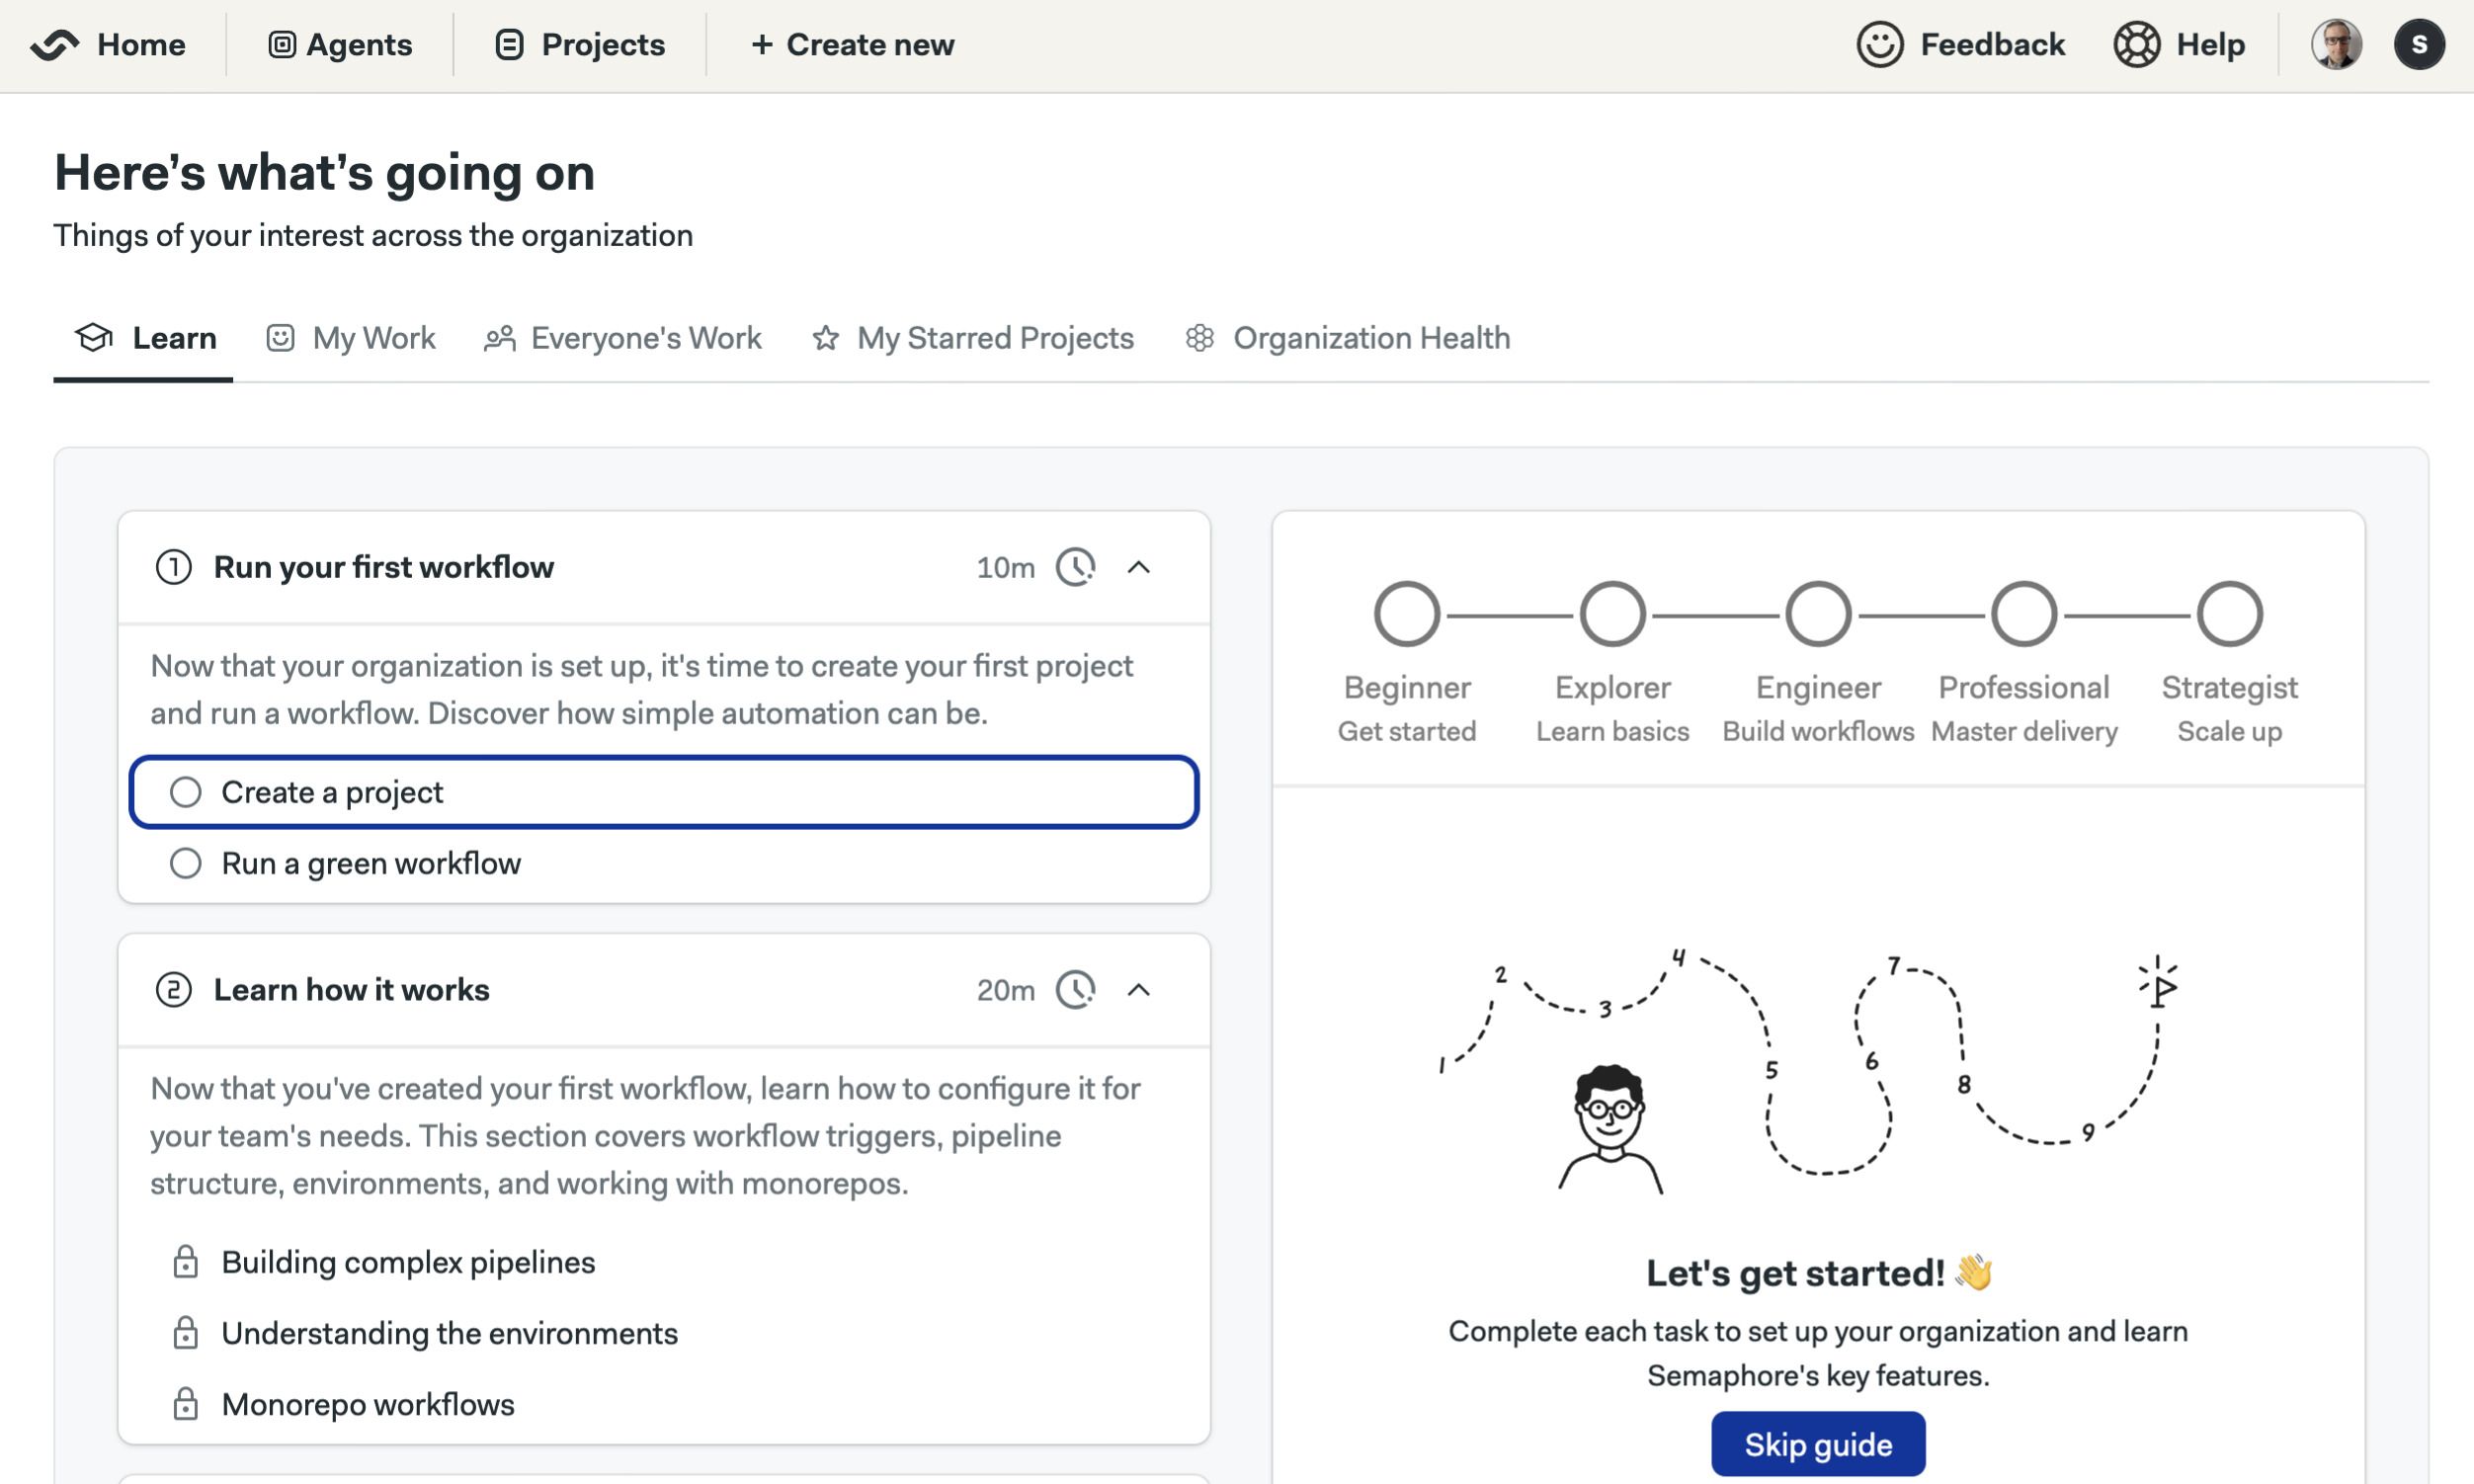
You should be greeted with the onboarding guide.
Post-installation tasks
Once you have Semaphore up and running, check out the following pages to finish setting up:
- Connect with GitHub: connect your instance with GitHub to access your repositories
- Guided tour: complete the guided tour to get familiarized with Semaphore Community Edition
- Invite users: invite users to your instance so they can start working on projects
- Add self-hosted agents: add more machines to scale up the capacity of your CI/CD platform
How to Upgrade Semaphore
To upgrade Semaphore, follow these steps:
-
Connect to your server running Semaphore (see Step 8)
-
Check that you can access the Kubernetes cluster (k3s):
export KUBECONFIG=/etc/rancher/k3s/k3s.yaml
kubectl get nodes -
Load the configuration file and ensure the certificates are located on the correct folders. See Step 9 if you need to regenerate the certificates.
source semaphore-config
echo "DOMAIN=${DOMAIN}"
echo "IP_ADDRESS=${IP_ADDRESS}"
ls certs/live/${DOMAIN}/fullchain.pem
ls certs/live/${DOMAIN}/privkey.pem -
Check the expiration date of the certificate. If it has expired, regenerate the certificate before upgrading
openssl x509 -enddate -noout -in certs/live/${DOMAIN}/fullchain.pem -
Run the following command to upgrade to
v1.3.0helm upgrade --install semaphore oci://ghcr.io/semaphoreio/semaphore \
--debug \
--version v1.3.0 \
--timeout 20m \
--set global.domain.ip=${IP_ADDRESS} \
--set global.domain.name=${DOMAIN} \
--set ingress.enabled=true \
--set ingress.ssl.enabled=true \
--set ingress.className=traefik \
--set ingress.ssl.type=custom \
--set ingress.ssl.crt=$(cat certs/live/${DOMAIN}/fullchain.pem | base64 -w 0) \
--set ingress.ssl.key=$(cat certs/live/${DOMAIN}/privkey.pem | base64 -w 0)
How to Uninstall Semaphore from Google Compute
If you want to completely uninstall Semaphore, follow these steps.
If you uninstall Semaphore you will lose access to all your projects, workflows, and logs. You cannot undo this action.
Login into your compute instance:
source google-config
gcloud compute ssh --zone=${GOOGLE_CLOUD_ZONE} --project=${GOOGLE_CLOUD_PROJECT_ID} --ssh-key-file ~/.ssh/id_ed25519 ${GOOGLE_INSTANCE_NAME}
Run the following commands to uninstall Semaphore:
export KUBECONFIG=/etc/rancher/k3s/k3s.yaml
helm uninstall semaphore
Delete the persistent volume claims:
kubectl delete pvc \
  minio-artifacts-storage-minio-artifacts-0 \
  minio-cache-storage-minio-cache-0 \
  minio-logs-storage-minio-logs-0 \
  postgres-storage-postgres-0 \
  rabbitmq-storage-rabbitmq-0 \
  redis-data-redis-0
If you want to remove the Google Compute instance (VM), run the following commands to completely destroy the server:
source google-config
gcloud compute instances delete ${GOOGLE_INSTANCE_NAME} \
    --zone="${GOOGLE_CLOUD_ZONE}"